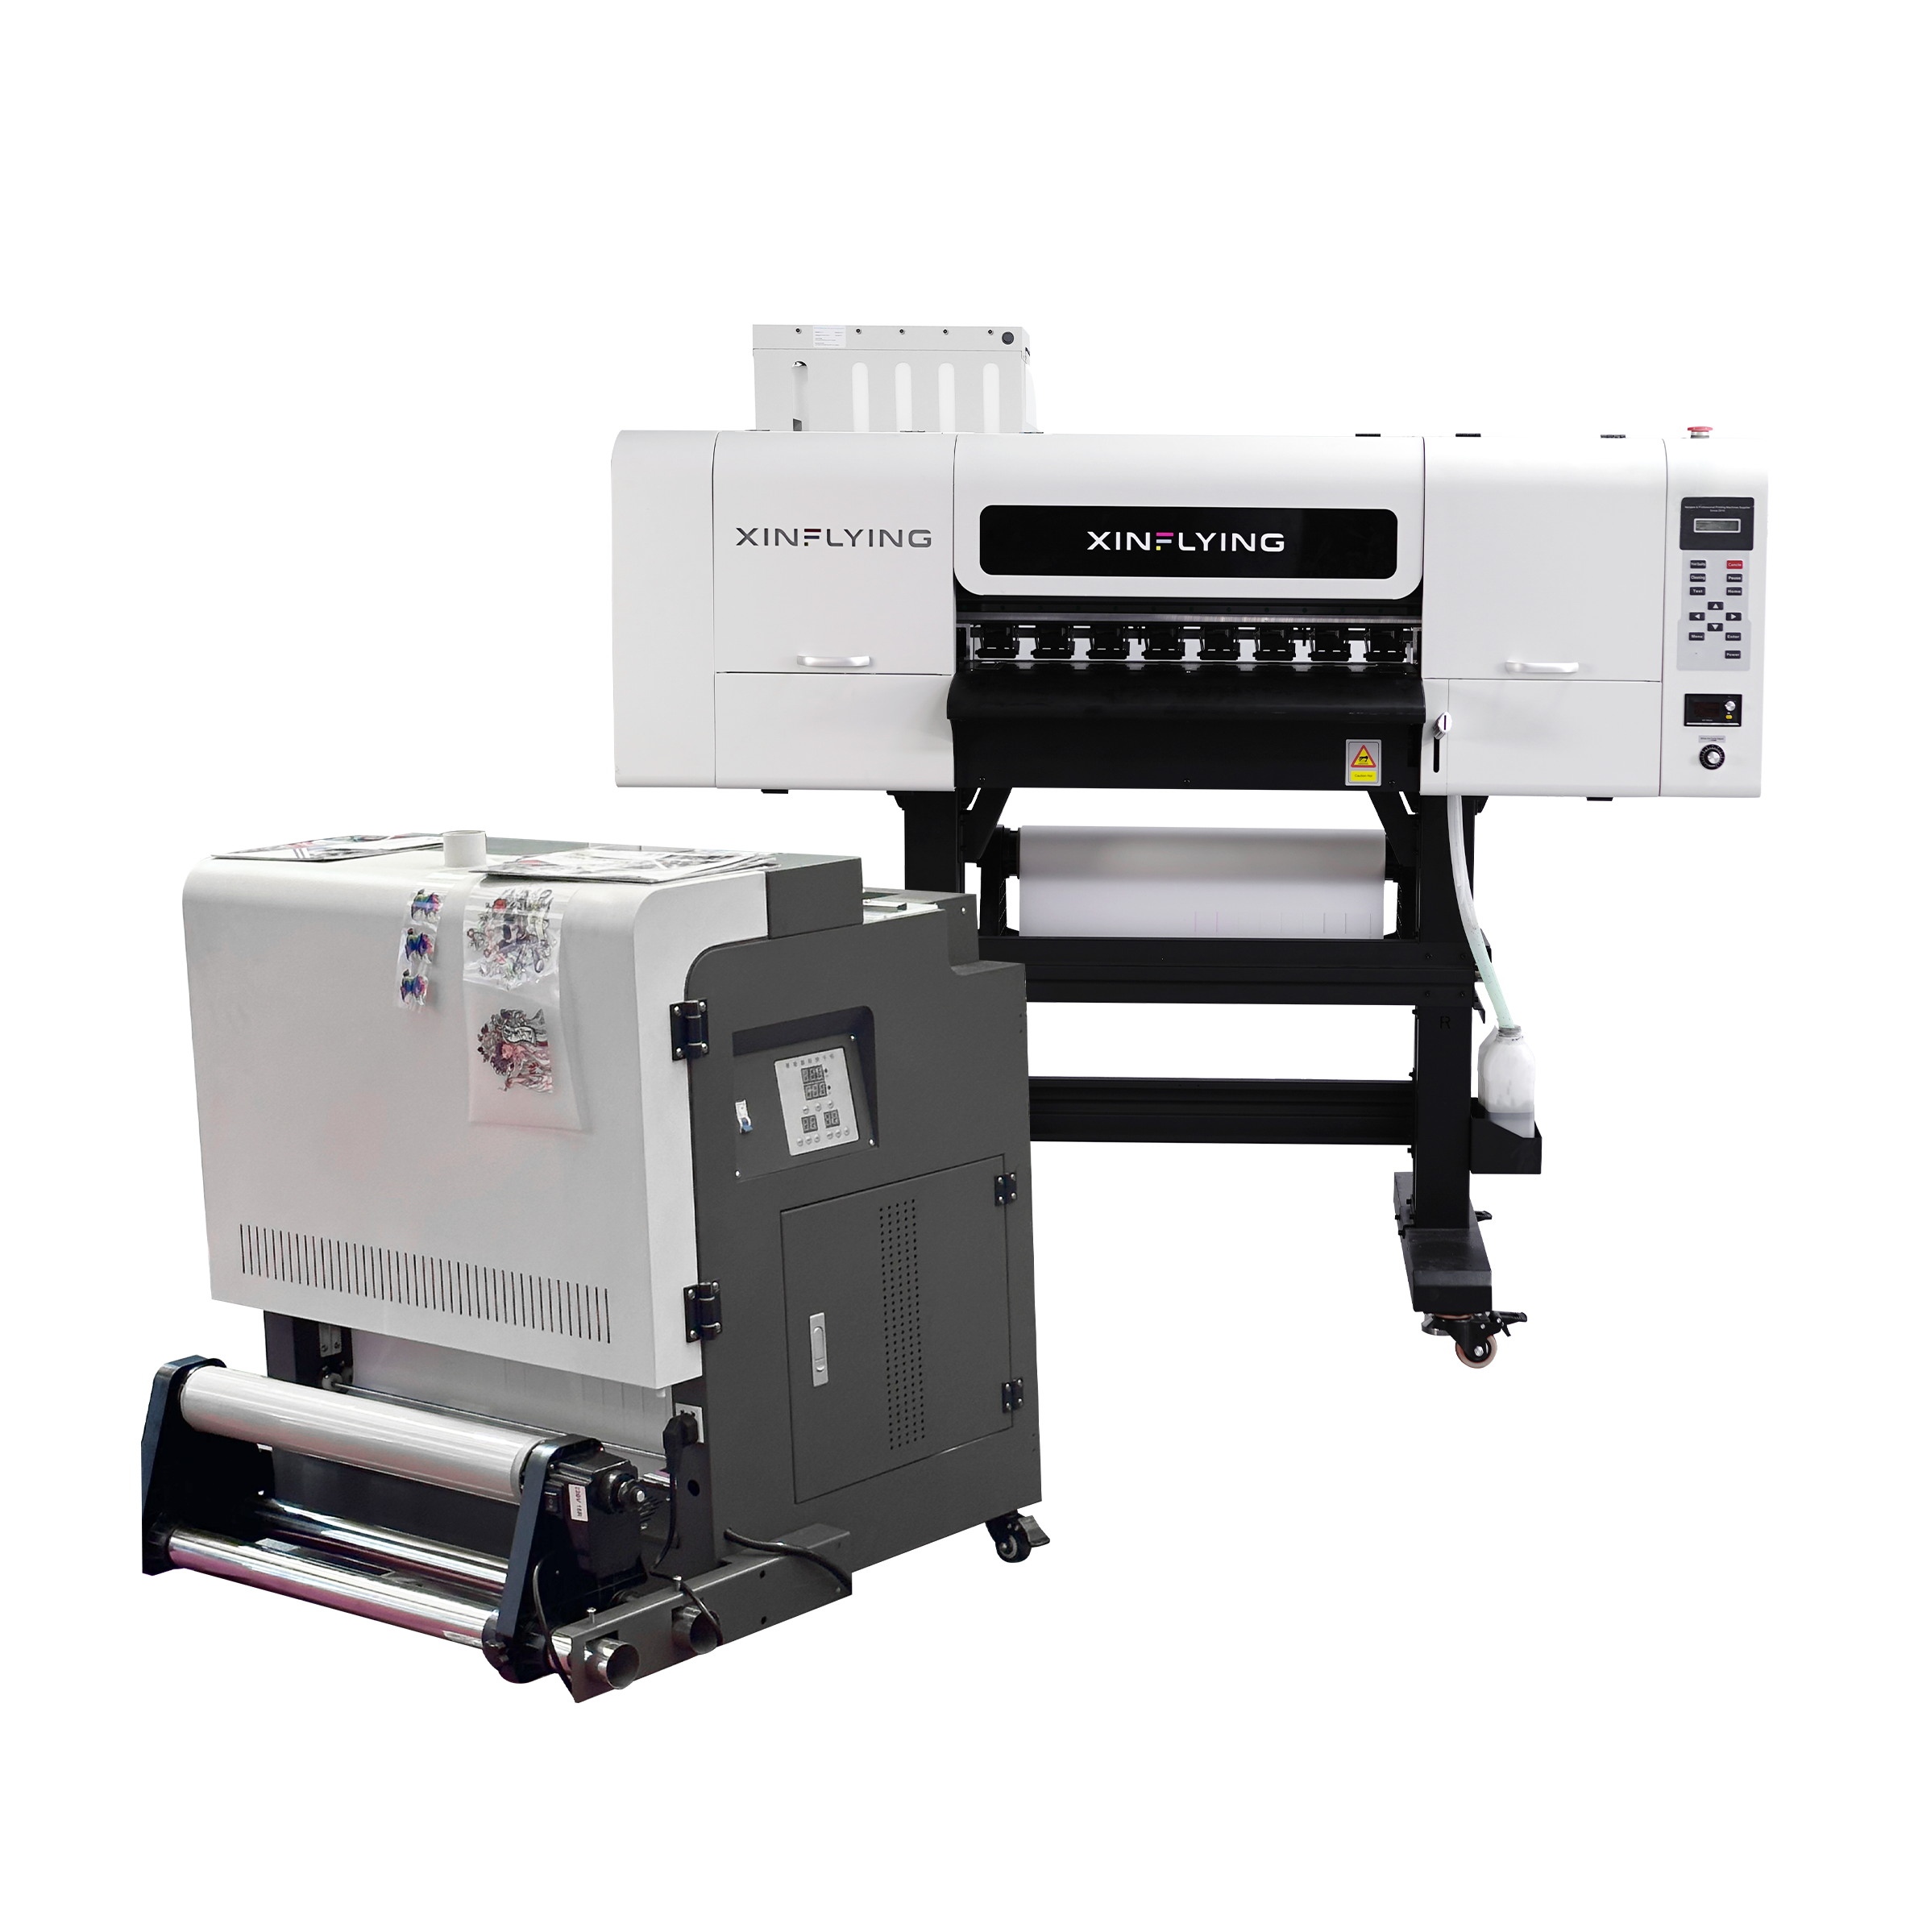
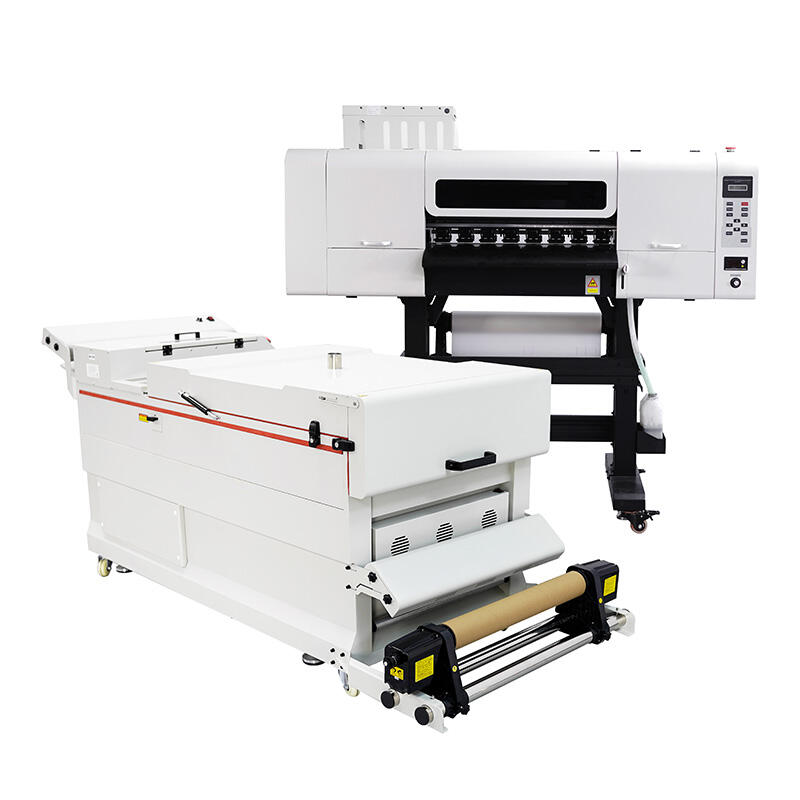
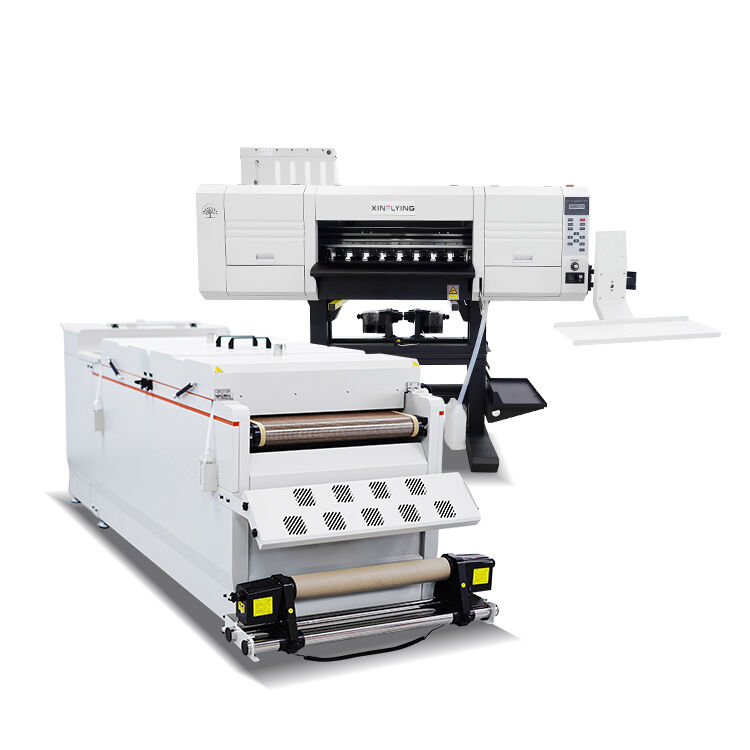
All you need to do to get started printing those cool, colorful graphics at home, is to convert your office printer into a DTF printer. What is DTF Printing: DTF printing is a great technique to add colorful & permanent designs on various types of fabric. And once you follow some simple steps to turn your everyday printer into a DTF printer, you can start creating your own stylish prints at home. Below is a step-by-step guide for DTF conversion by Xin Flying.
Using the appropriate materials: If you want to convert your printer to DTF printing, you will need some special materials, such as DTF powder, DTF film, and DTF adhesive powder. Those supplies you have at home or in your closet.
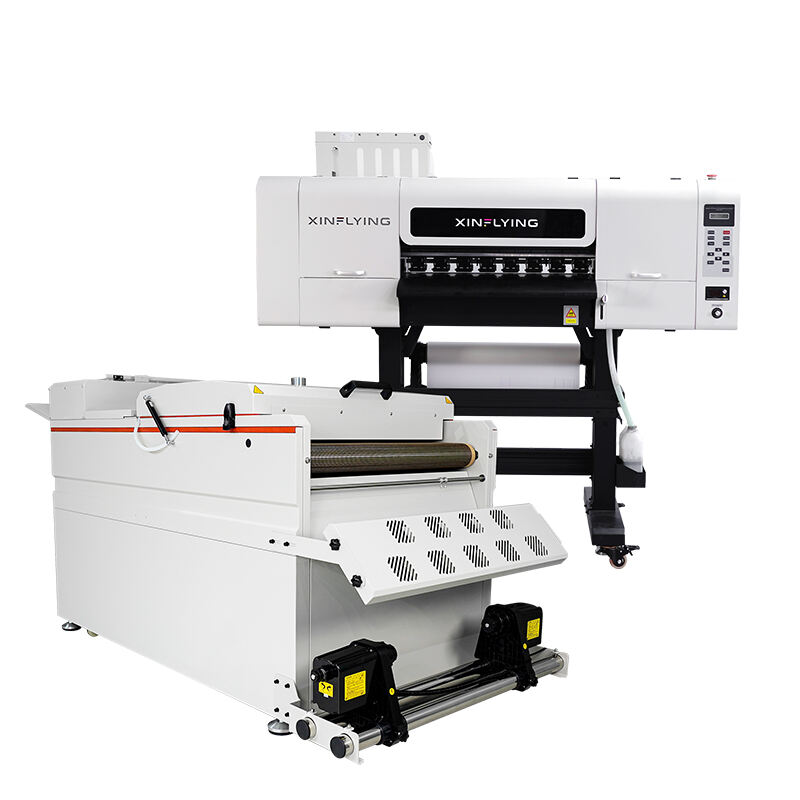
Setting up the DTF Kit: After gathering the necessary items, follow the guidelines provided in the DTF kit to affix the required components to your printer. That might mean a special tray to grip the DTF film.
How to convert your printer to make vibrant, bold DTF prints:
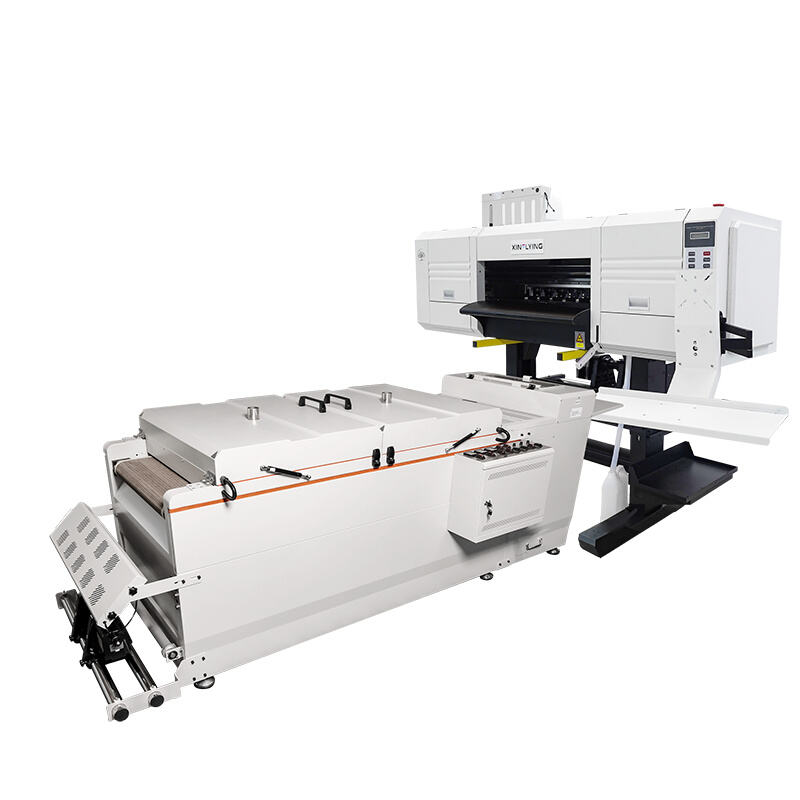
After converting your printer to DTF printing, you can produce vibrant, bold prints on various fabrics. DTF prints dry quickly and the quality is long-lasting and vibrant, making them perfect for creating personalized clothing, phone cases, bags, t shirts, and other accessories. With the using of the accurate materials and techniques, you are able to adjust your DTF printer to operate like a lot of professional.
Using Good Materials: For high-quality DTF prints, you must use good materials, such as DTF powder, film, and adhesive powder. The materials havae to help your designs print well on the fabric.

It takes practice: Like any new skill, switching your printer to DTF technology may require practice. When you first try to print, it may not be what you needed, so dont panic If you want to get the best results, keep on trying, persist, and do practice.
Our after-sales Converting printer to dtf offer on-site support to aid agents in the training their after-sales teams. Technical engineers from company are proficient in English which allows better communication for maintaining relationships with clients.
We have local warehouses across United States, Brazil, Indonesia, India, other places. Only you Converting printer to dtffor sales of the item. We will assist you logistics transportation costs.
XinFlying is one of the earliest DTF Converting printer to dtfcurrently enjoys high brand recognition worldwide,specialized digital printing industry over 13 years.This enables you achieve greater success in the sales process。
Our technical Converting printer to dtf10 people in R and D constantly monitors the feedback of our customers in order enhance and upgrade our products. As our agent you'll have a competitive edge in the market by capitalizing on advantages of technology in our products in advance of your competitors.


Second Floor, No. 7, First Street, Second Industry, Xecun, Zhongcun Street, Guangzhou, Guangdong, China
Copyright © Guangzhou Xin Flying Digital Technology Co., Limited All Rights Reserved - Privacy Policy

 EN
EN
 AR
AR
 NL
NL
 FR
FR
 DE
DE
 EL
EL
 HI
HI
 IT
IT
 JA
JA
 KO
KO
 PL
PL
 PT
PT
 RU
RU
 ES
ES
 TL
TL
 IW
IW
 ID
ID
 LV
LV
 LT
LT
 SR
SR
 SK
SK
 SL
SL
 UK
UK
 VI
VI
 SQ
SQ
 ET
ET
 GL
GL
 HU
HU
 MT
MT
 TH
TH
 TR
TR
 FA
FA
 AF
AF
 BE
BE
 KA
KA